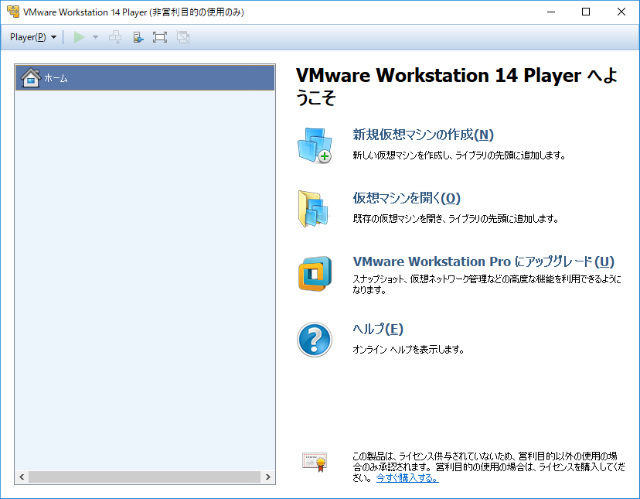
前回、Windows10 にインストールした VMware Workstation Player 上で CentOS + Apache + PHP が動くようになりました。
今回は、この仮想環境に MySQL5.7 をインストールします。
MySQL インストール
もし、仮想環境の CentOS にログインしていなかったら、ログインします。
CentOS のログイン画面
一般ユーザーでログインします。
一般ユーザー をクリックします。
パスワード に 一般ユーザーのパスワード を入力して[サインイン]をクリックします。
デスクトップの空いているところで、右クリックをして出てきたメニューの 端末を開く を選択します。
一般ユーザーでログインしているので端末内で su コマンド使って root になります。
パスワードは root のパスワードを入力します。
[user@localhost ~]$ su
パスワード:
[root@localhost user]# cd
[root@localhost ~]#
MariaDB のアンインストール
CentOS7 にははじめから MariaDB がインストールされているらしいので確認します。
[root@localhost ~]# rpm -qa | grep maria
mariadb-libs-5.5.56-2.el7.x86_64
いた!
yum コマンドを使って MariaDB を削除します。
[root@localhost ~]# yum remove mariadb-libs
削除されるパッケージが表示されます。
上記の処理を行います。よろしいでしょうか? [y/N]
y を入力して Enter を入力します。
完了しました!
[root@localhost ~]#
MariaDB が削除されました。
MySQL5.7 Yum Repository をインストール
yum コマンドを使って MySQL5.7 の Yum リポジトリをインストールします。
[root@localhost ~]# yum install https://dev.mysql.com/get/mysql57-community-release-el7-11.noarch.rpm
インストールされるパッケージが表示されます。
Is this ok [y/d/N]:
y を入力して Enter を入力します。
完了しました!
[root@localhost ~]#
MySQL5.7 をインストール
yum コマンドを使って MySQL5.7 をインストールします。
[root@localhost ~]# yum install mysql-community-server
インストールされるパッケージが表示されます。
Is this ok [y/d/N]:
y を入力して Enter を入力します。
上記の処理を行います。よろしいでしょうか? [y/N]
これが表示されたら y を入力して Enter を入力します。
完了しました!
[root@localhost ~]#
MySQL の起動
MySQL起動
[root@localhost ~]# systemctl start mysqld
状態確認
[root@localhost ~]# systemctl status mysqld
自動起動設定
[root@localhost ~]# systemctl enable mysqld
MySQL の初期設定
初期設定時の root パスワード確認
まず現在の root パスワードを確認します。
MySQL5.7 の最初の root のパスワードはログに出力されているのでこれを確認します。
[root@localhost ~]# cat /var/log/mysqld.log | grep password
[Note] A temporary password is generated for root@localhost: xxxxxxxxxxxx
このパスワードを使用して初期化を行います。
初期化コマンド
初期化コマンド使って初期化します。
[root@localhost ~]# mysql_secure_installation
まず現在のパスワードを聞かれるので先ほど確認したパスワードを入力します。
新しいパスワードを聞かれるので設定します。
パスワード文字列には条件があるようで、& などの文字 大文字 小文字 数字 を組み合わせたパスワードじゃないと通らないようです。
VALIDATE PASSWORD PLUGIN can be used to test passwords
 .
 .
Press y|Y for Yes, any other key for No:
n
Estimated strength of the password: 100
Change the password for root ? ((Press y|Y for Yes, any other key for No) :
n
Remove anonymous users? (Press y|Y for Yes, any other key for No) :
y
Disallow root login remotely? (Press y|Y for Yes, any other key for No) :
y
Remove test database and access to it? (Press y|Y for Yes, any other key for No) :
y
Reload privilege tables now? (Press y|Y for Yes, any other key for No) :
y
設定ファイル編集
my.conf ファイルを編集して、文字コードを設定します。
まず、my.conf ファイルをバックアップしてから編集します。
[root@localhost ~]# cp -p /etc/my.conf /etc/my.conf.org
[root@localhost ~]# vi /etc/my.conf
character_set_server=utf8
skip-character-set-client-handshake
my.conf に2行追加します。
ファイルを開いたら、Shift + G キーを押して最終行まで行きます。
Shift + A キーを押して INSERT モードになったら2行追加します。
character_set_server=utf8
skip-character-set-client-handshake
ESC キーを押して INSERT モードを抜けたら Shift + ZZ キーで保存終了します。
MySQL の再起動
初期設定が終わったので再起動しておきます。
[root@localhost ~]# systemctl restart mysqld
バージョン確認
[root@localhost ~]# mysqld -V
mysqld  Ver 5.7.22 for Linux on x86_64 (MySQL Community Server (GPL))
インストール完了
これで Windows10 にインストールした VMware Workstation Player 上で CentOS + Apache + PHP + MySQLが動くようになりました。
次回は WordPress をインストールします。